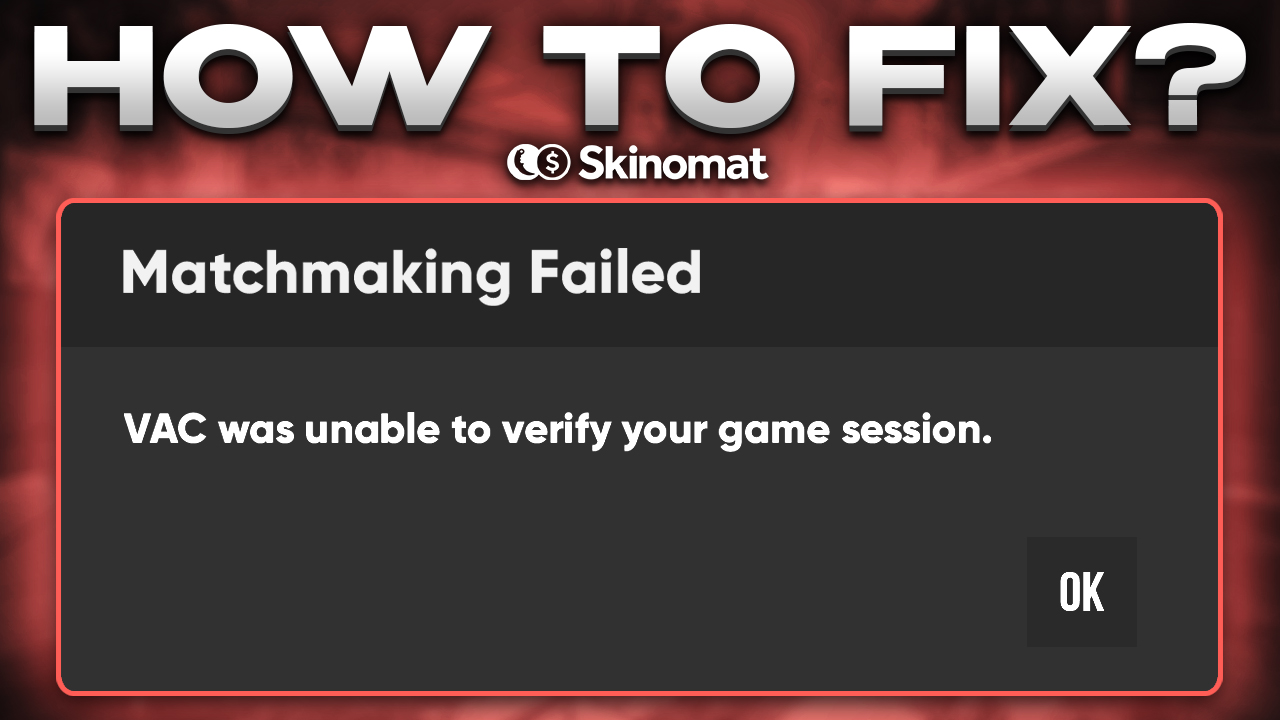
The Valve Anti Cheat system, also known commonly as VAC is one of the things that Counter Strike: Global Offensive players fear the most. Although you have nothing to worry about if you’re not trying to hack, if you get caught modifying the game files to gain unfair advantage in online mode, you will most likely receive a VAC ban.
Vac bans are so terrifying, because once you get banned, you cannot appeal your ban by any means and it’s permanent. That’s why when players, who want to start searching for a match and instead get the ‘VAC was unable to verify your game session’ CSGO error message, they sometimes panic. However, if your game is giving you this error, there is nothing to worry about. Here are some solutions for the ‘Vac was unable to verify your game session’ error.
Also, if you ever want to sell Steam items for the best prices possible, make sure to visit Skinomat!
Am I Banned If I Get The Error Message?
Let’s get one thing clear first – if you get this error message, this doesn’t mean that you are banned in CS:GO. There are multiple reasons why you might be getting a game session error and why your Steam client can’t connect to the game servers. VAC bans are very rarely handed out on an accident, as appealing for these bans is impossible. If you in fact didn’t modify the game files or use any hacks, you will probably only have to apply one of the easy solutions listed in this article.
Looking to expand your inventory? Check out our list of the best M4A4 skins in the game!
Why Am I Getting The Error Message?
You don’t have to be banned to get this error message. There are multiple reasons, why VAC might not be able to verify your game session and not all of them include VAC bans. This game session error message is most likely caused by connection issues or problems with your Steam client. If VAC can’t verify your game session, it only means that for some reason it can’t connect to your Steam client. Chances are there might be some problems with the game files as well, such as corrupted or missing game files. Either way, most fixes to the VAC error message are rather simple and can help you get back to playing CS:GO.
-
Restart Your Computer And/Ord Modem And Router
Before you get to more complex methods, it’s important to try the simplest solutions first. There are multiple reasons why VAC might be unable to verify your game session, some of the have to do with Steam and the operating system cache, and others with possible connection issues. You can first try and restart Steam and if the system persists, try restarting your computer. You can also reset your modem and/or router. Try unplugging it and plugging it in again. After that, start Steam and see if the problem persists in CS:GO.
-
Verify Integrity Of Game Files
One of the reason you might be getting the VAC error message is due to a problem with integrity of game files in the CS:GO folder. If VAC detects some issue with the game files, it will most likely not allow you to connect to online games to prevent potential cheating. Chances are you might have tried to create an autoexec file and used a wrong folder, or ave accidentally saved some file in the CS:GO game files. Either way, Steam has an easy method to verify integrity of game files. Open the Steam library, right click Counter Strike: Global Offensive and select ‘properties’. Once you open the properties window, navigate to the ‘local files’ tab and choose ‘verify integrity of game files’. The process can take couple of minutes at most and if Steam will successfully verify your game files, you should be able to play again.
-
Repair The Steam Library Folder
In some cases the VAC error message might be caused by a broader problem with your Steam library, and not just the CS:GO files. If for whatever reason your Steam library files have been corrupted, VAC won’t be able to verify your game session. However, this problem can also be easily fixed from the level of your Steam client. All you have to do is go into Steam settings, select ‘downloads’ from the left panel, Then, simply click on the install location of your Steam folder and select ‘repair library folder’. This can also take some time but will verify the integrity of your Steam library files. After the process is finished, exit and try to run Steam again and play CS:GO to see if the problem persists.
-
Whitelist The Game Directory For Your Antivirus Program/Firewall
A common issue while playing online games is your antivirus and/or firewall preventing your game from connecting to the Valve Anti Cheat system. If this is the case, all you have to do is whitelist the CS:GO game folder. Go to your Antivirus program settings and search for the option that contains antivirus exceptions. You can safely whitelist your CS:GO folder this way, since you won’t get a virus from it. Then, restart Steam, open CS:GO again an see if you can connect.
Want to quickly sell CS2 (CS:GO) skins formoney? Check out Skinomat!
-
Clear Temporary Files From Your PC
As your computer runs, uses different apps and gathers temporary data in it’s cache. Sometimes, these temporary files can mess with your CS:GO folder, causing you issues with potential game integrity. Cleaning these files can be done without any issue and can also sometimes fix your CS:GO problems. Open ‘run‘ option in your operating system, and in the prompt type in ‘%temp%’. This should bring up a folder, containing all of the temporary files currently stored by your operating system. Delete all the files and try to open Steam client again and play CS:GO.
-
Install New Drivers
One thing that can sometimes also fix VAC unable to verify your game session error is simply updating your drivers. In some cases, the VAC error is not a question of your Steam files or account, but simply an issue of dated drivers on your computer. Sometimes Valve’s anti cheat system might see old drivers as corrupted files and won’t let you connect to a VAC secured server. To fix this, try to install all the newest drivers you can get for your hardware, then launch Steam client and try to play CS:GO.
In Conclusion
The VAC system is overall a great method to detect possible cheaters in CS:GO, although in some cases it can mess with functioning of the Steam app. If the VAC system interferes with your Steam games, try one of the fixes on this list. Chances are, a simple solution is all you need to get back to playing on dedicated Steam servers.


No comment